
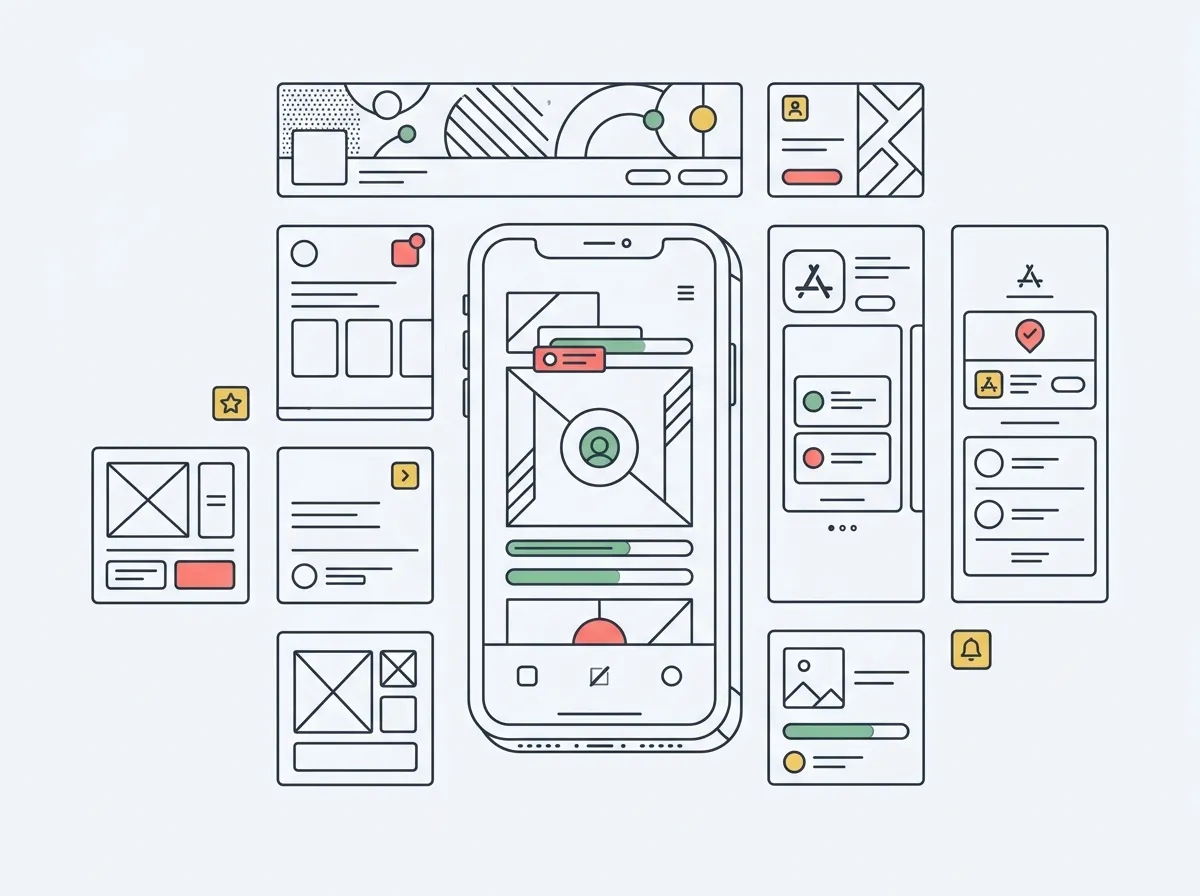
Quick answer: The fastest way to make App Store screenshots is a dedicated screenshot tool with device-frame templates — upload raw simulator shots, pick a template, export store-ready sizes in an afternoon. AppLaunchFlow does this plus matching social images; Figma and Canva give more control but cost more time; screenshot.rocks and Fastlane cover the free and automated ends.
I've shipped two apps solo. I can build the product, run the backend, write the copy — but the App Store screenshots are the wall I hit every single time. Every launch, I'd tell myself "the screenshots will take an hour," and every launch I'd lose most of a weekend nudging device frames pixel by pixel in Figma and still not love the result.
The screenshots aren't a nice-to-have. They're among the first things a browsing user sees, and for most apps they carry more of the download decision than the description does. So the tooling you pick for this one job matters more than its tiny size suggests. Here are the five approaches I've actually used or seriously tested, ranked by how little of your life they cost.
What makes a good App Store screenshot workflow?
Before the list, the three things that actually matter when you're a team of one:
- Speed to store-ready. Apple wants specific pixel sizes per device class. The tool should handle those so you never hand-resize a frame.
- Real device frames. A screenshot inside a clean 3D iPhone frame reads as a finished product; a raw un-framed screen grab reads as a prototype.
- Consistency across surfaces. Your App Store screenshots, your X header, and your OG image should look like they came from the same launch. When they don't, the whole thing feels unfinished.
1. AppLaunchFlow — Best all-in-one for solo devs
Platform: Web · Price: Free tier (preview exports), one-time Launch Pass, or a low monthly plan — check the current applaunchflow.com pricing.
This is the one I reach for now, and it's the reason I wanted to write this post. AppLaunchFlow is a single workspace for app launch assets: you upload your raw screenshots, drop them into one of a set of templates with proper 3D device frames, tweak the layout and copy, and export store-ready sizes for iOS and Android. No Figma, no hand-resizing.
What sold me was that it did two jobs in one pass. I made GainFrame's App Store screenshots and my social launch images from the same visuals, so everything matched across the store listing and my X profile without rebuilding the look twice. It also does more than I personally used — promo videos from your screenshots, ASO copy, icon variants, localization into 25+ languages — but even just for the screenshot-plus-social workflow, it turned my dreaded weekend into an afternoon.
Best for: solo developers and small teams who want the whole launch asset set — screenshots, social graphics, videos — out of one tool. The honest caveat: it's an opinionated template system, so if you want a fully bespoke, pixel-controlled art direction, a design tool gives you more rope (and takes more time).
2. Figma — Best for total control
Platform: Web / desktop · Price: Free tier is plenty for screenshots.
Figma is where I used to do this, and it's still the right answer if you want complete control or you already live in it. The community has free App Store screenshot templates with device frames and correct sizes, and once you've built your layout, batching a whole set is fast.
The cost is time and taste. Figma does nothing for you — every frame, shadow, and text box is yours to place. If you enjoy the design step, that's a feature. If you just want screenshots done, it's the slow road, and it's the exact road I was trying to get off of.
Best for: developers who are comfortable in Figma and want bespoke art direction. Caveat: the blank canvas is the enemy of shipping.
3. Canva — Best if you already use it
Platform: Web / mobile · Price: Free tier works; Pro adds more.
Canva sits between AppLaunchFlow and Figma: more guardrails than Figma, less app-specific than a dedicated tool. There are App Store screenshot templates, drag-and-drop simplicity, and it's forgiving if you're not a designer.
The gap is that Canva is a general graphics tool, not an app-launch tool. You'll be checking Apple's size requirements yourself and there's no direct store-publishing step. But if Canva is already your muscle memory, it's a perfectly reasonable place to make a clean set.
Best for: non-designers who already know Canva and want zero learning curve. Caveat: you own the App Store size and safe-area details.
4. screenshot.rocks (and similar) — Best free quick-framer
Platform: Web · Price: Free.
Sometimes you just need to wrap a raw screenshot in a nice device frame and be done — for a Reddit post, a changelog, a quick social share. Free browser tools like screenshot.rocks and mockuphone do exactly that: paste an image, get a framed mockup, download.
They're not a full store-listing workflow — no multi-screen templates, no store sizes, no social-set consistency — but for the one-off "make this look less raw" moment, they're the fastest free option and I still use them for casual posts.
Best for: quick one-off framed mockups when you don't need a full store set. Caveat: not a launch pipeline; you'll outgrow it for an actual listing.
5. Fastlane Snapshot / Frameit — Best for automation
Platform: Command line · Price: Free (open source).
If you have many screens, multiple languages, and a release cadence, the developer answer is to automate. Fastlane's Snapshot captures localized screenshots straight from the simulator via UI tests, and Frameit wraps them in device frames — all from your build pipeline, regenerated every release without you touching a canvas.
The trade-off is upfront cost: you write and maintain the UI tests, and the framed output is more functional than art-directed. But for a mature app shipping to a dozen locales, nothing else scales like this.
Best for: developers with many screens/languages who want screenshots regenerated automatically each release. Caveat: real setup time; the output is clean, not cinematic.
Which one should you use?
The honest decision tree, from someone who wasted too many weekends on this:
- Want the whole launch set (screenshots + social + video) with the least time? AppLaunchFlow. It's the closest thing to "done" for a solo dev.
- Want total creative control and already know Figma? Figma, with a community template to skip the blank page.
- Already live in Canva and just want it finished? Canva.
- Just need one framed mockup for a post? screenshot.rocks — free, ten seconds.
- Shipping many screens across many languages every release? Automate it with Fastlane.
The meta-lesson took me two launches to learn: the best screenshot tool is the one you'll actually finish with. A perfect screenshot you never export ships nothing. Pick the option that gets you to "done" and spend the reclaimed weekend on the product.
Frequently asked questions
What is the easiest way to make App Store screenshots?
A dedicated screenshot tool with device-frame templates is the fastest route — you upload raw simulator screenshots, drop them into a template, and export store-ready sizes. That collapses what used to be a weekend in Figma into an afternoon. Figma or Canva still work if you want total control and already know them, but they're slower for this specific job.
Do App Store screenshots actually matter for downloads?
Yes — the screenshots are among the first things a browsing user sees, and they carry more of the conversion decision than the description for most apps. A clear first screenshot that states the core benefit, in a real device frame, consistently beats a raw un-framed screen grab. It's the highest-leverage hour of launch prep for a solo developer.
What size do App Store screenshots need to be?
Apple requires specific pixel dimensions per device class (the 6.5-inch and 6.9-inch iPhone sizes are the ones most apps must supply), and Google Play has its own set. The value of a dedicated screenshot tool is that it handles these sizes and safe areas for you, so you don't hand-resize each frame. Always check Apple's current App Store Connect requirements before exporting.
Should I make social media images at the same time as my screenshots?
It's worth it. If your X header, OG image, and App Store screenshots all come out of the same design pass, your launch looks consistent everywhere someone might see it. Tools that generate both from the same app visuals save you from rebuilding the look twice — that consistency is a small thing that makes a solo launch feel more finished.
Is it worth paying for a screenshot tool or should I use free options?
For a first launch, a one-time or low monthly cost that saves you a weekend is usually worth it — your time is the scarce resource. Free options (Figma community templates, screenshot.rocks) genuinely work if you enjoy the design step or are pre-revenue. The honest answer: use the cheapest thing you'll actually finish with, because an unfinished perfect screenshot ships nothing.
What GainFrame is
Speaking of screenshots — GainFrame turns your gym progress photos into an AI body composition report: body fat, a physique score, and 12 muscle-group ratings from one picture. Built solo, iOS, free to start.
See GainFrame on the App Store