
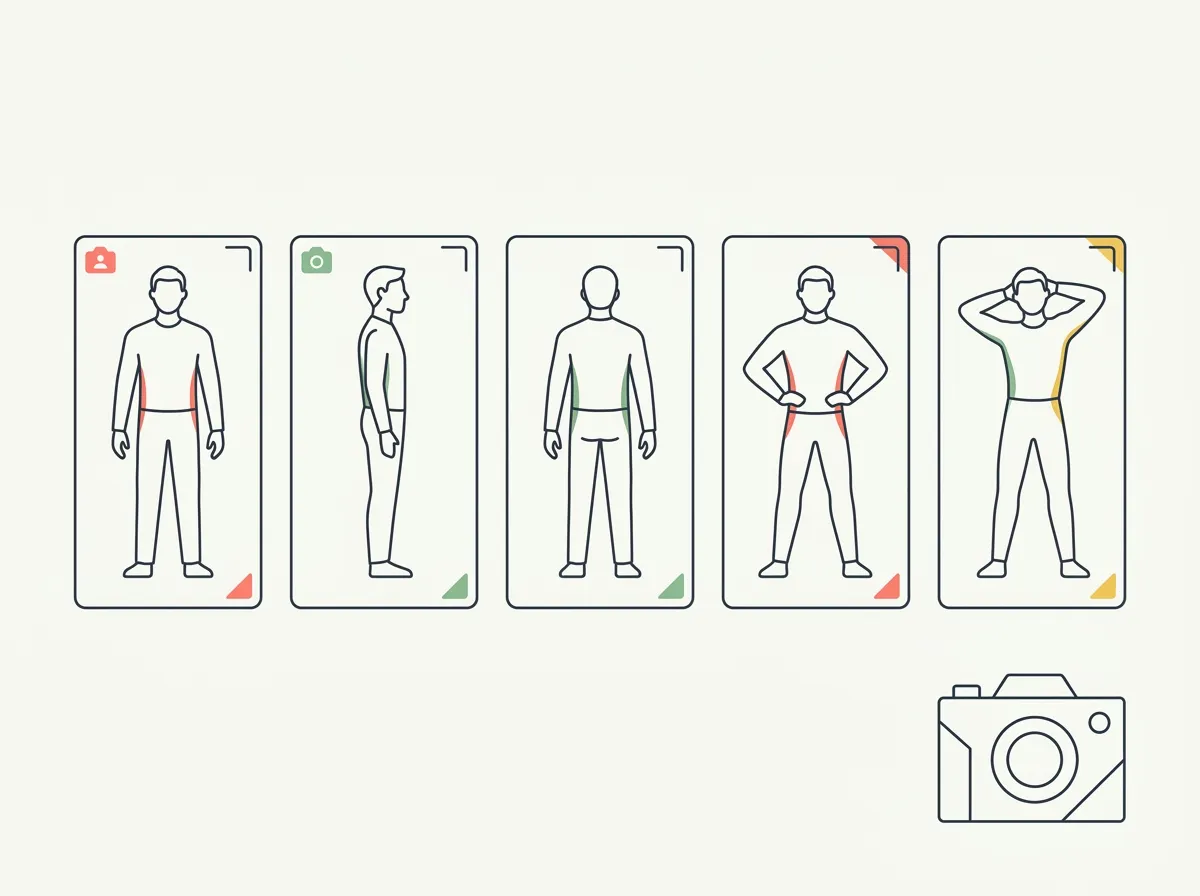
Quick answer: The five progress photo poses worth taking: relaxed front (your honest baseline), relaxed side (posture and midsection), relaxed back (where lat and rear-delt change shows), front flexed (the motivation shot), and an optional consistent lifestyle pose. Take them in the same order, at the same distance, height, and lighting, every time.
You take 4 photos, then realize each uses a different stance. A repeatable set makes it easier to compare the body areas you care about without relearning your pose every week.
Which poses belong in your baseline set?
Use relaxed front, side and back views first. Add front flexed if you want a record of definition under tension. A fifth, optional lifestyle photo can show how the same type of clothing fits over time.
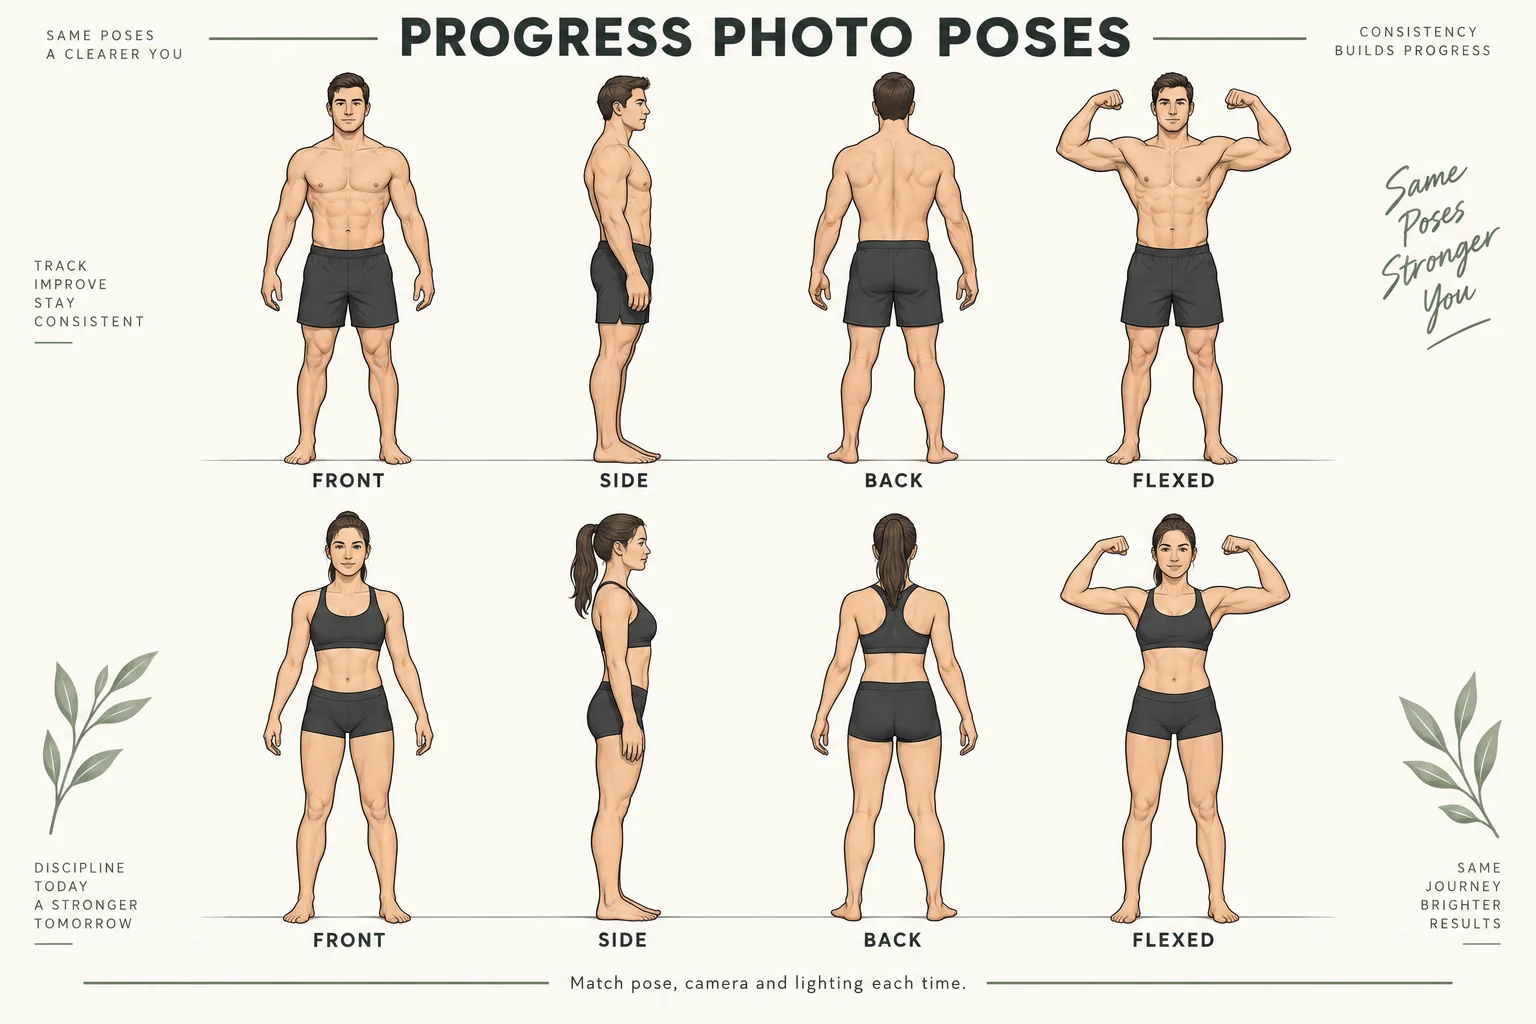
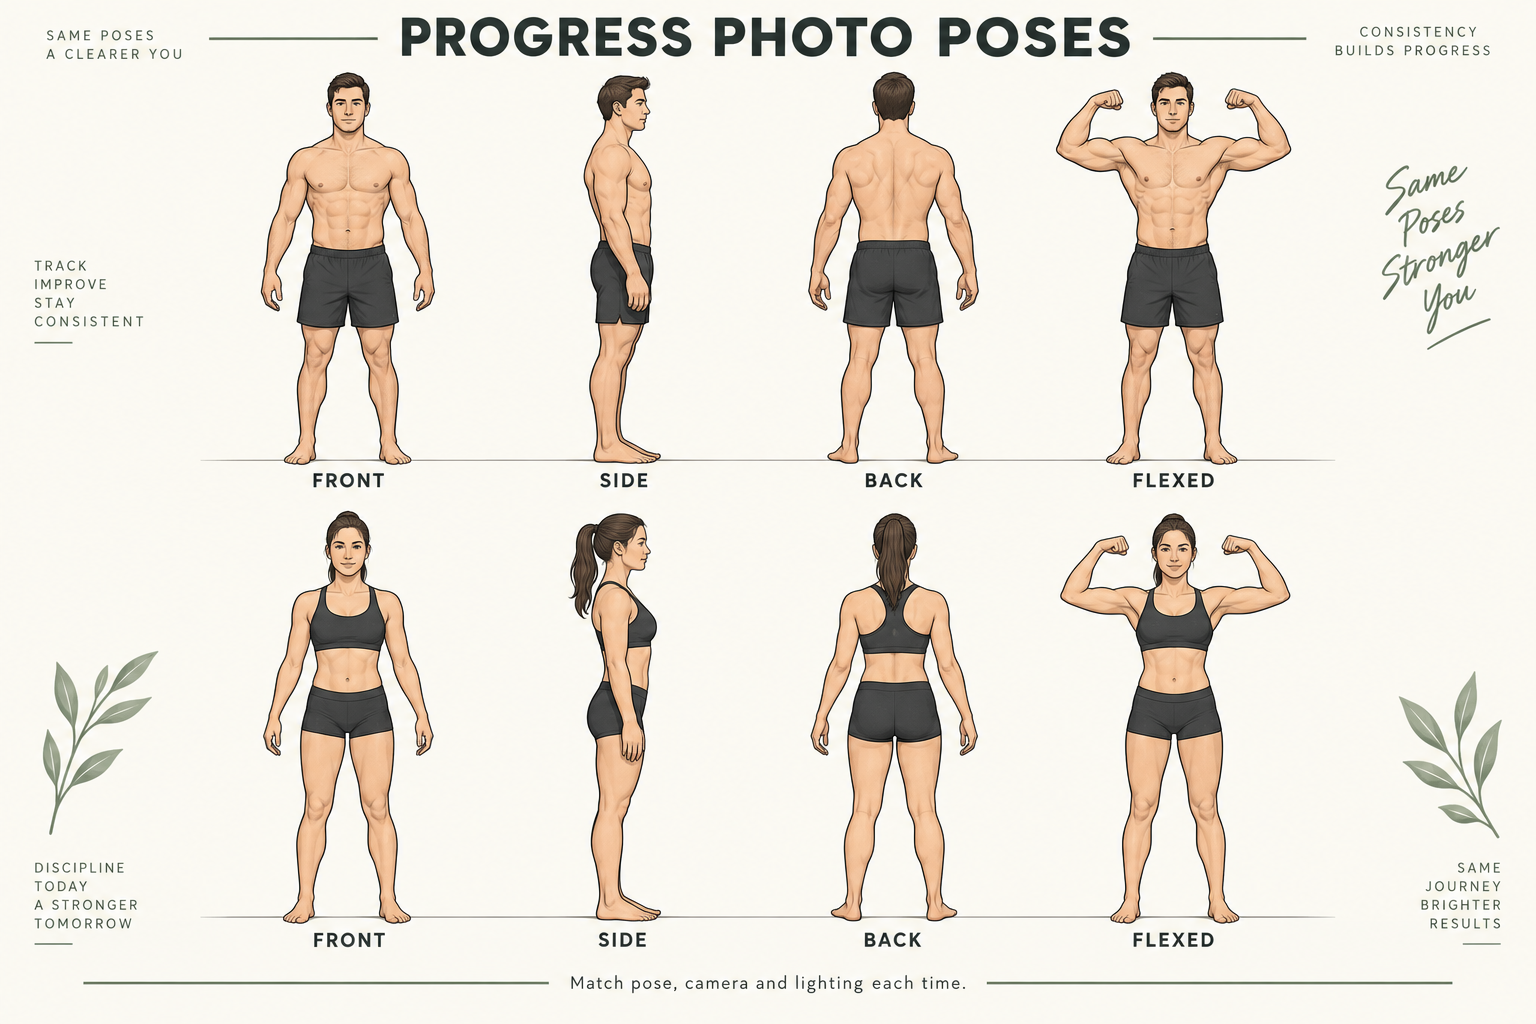
Illustrated reference sheet. These are pose examples, not transformation results or target body shapes.
Download the full-size printable pose sheet. Print it in landscape orientation with fit-to-page enabled, or save it beside your camera setup. For a room-specific checklist, check your pose and camera setup.
What does the relaxed front pose show?
Face the camera with your feet in a comfortable, repeatable stance. Let your arms hang with enough space to see the outline of your torso. Breathe normally and avoid pulling your stomach inward or spreading your lats.
This view records your overall silhouette, shoulder-to-waist relationship and visible front muscle development. Compare the same arm position each time. Moving your hands onto your hips can change the outline you are trying to assess.
How should you stand for the side photo?
Turn a quarter-turn from the front position. Keep your head facing in the same direction as your torso, your shoulders relaxed and your weight balanced. Use the same side of your body at each check-in.
The side view helps you compare the torso and overall profile. Avoid twisting your chest toward the camera or exaggerating your lower-back arch. A photo can document posture, but it cannot diagnose a postural condition.
How do you take the back photo alone?
Set the timer, return to your floor mark and face away from the camera. Keep your arms in the same relaxed position used for the front photo. A short video can help if turning before the timer expires feels rushed.
The back view records areas that a front photo misses, including your back outline and rear shoulders. Keep hair, clothing and arm position consistent enough to see the same regions. The solo photo setup guide explains the camera placement.
How should you repeat a flexed pose?
Choose one flex, such as front double biceps, and save a reference image. Match foot position, elbow height, torso angle and camera distance. Record whether the photo was taken before or after training.
A flexed set can help you inspect visible muscle detail. Practice also changes how effectively you pose, so review it alongside the relaxed set. Keep comparisons between matching poses.
Is a lifestyle photo worth adding?
It can be useful if you want to see how a familiar outfit fits. Use similar clothing, the same camera position and a natural stance. Avoid comparing a loose shirt with a fitted shirt and attributing the whole difference to your body.
This fifth pose is optional. If it makes the routine harder to maintain, keep the three relaxed views and one consistent flex.
How do you keep poses organized over time?
- Save the date and pose name with each image.
- Keep front, side, back and flexed views in separate groups.
- Leave camera height, distance and lens unchanged.
- Repeat the same breathing and arm position.
- Review several weeks together before drawing conclusions.
Use free apps for saving progress photos if you mainly need an archive. If matching older photos is the hard part, compare progress photo apps with pose alignment and their actual free limits.
First, pick the three relaxed poses. Second, record one repeatable set. Third, compare matching progress photos after enough time has passed to make the comparison useful.
What else should you know?
What are the best progress photo poses?
Relaxed front, side and back views form a practical baseline because they record different parts of your physique. Add one repeatable front flex and, optionally, a consistent clothed lifestyle photo. Keep the order, camera distance and lighting similar so you can find and compare matching poses later.
Should progress photos be flexed or relaxed?
Start with relaxed photos because you can repeat a natural stance without relying on posing skill. Add a flexed set if visible muscle detail matters to you. Compare each set with the same pose and similar workout timing, since practice and a muscle pump can change how the flex looks.
Why should you take a back progress photo?
A back photo records areas that are difficult to see in a front view, including your back outline and rear shoulders. It gives you another angle when the front comparison is unclear. Use a timer or short video so you can capture it alone with a fixed camera position.
How many poses do you need for progress photos?
Three relaxed views are a practical starting set: front, side and back. A flexed front photo and a consistent lifestyle photo are optional additions. Choose a set you can repeat comfortably, then organize it by date and pose so your later comparisons use the same view.
What is the most common progress-photo posing mistake?
A frequent problem is changing the pose between dates without noticing. Bracing your stomach, moving your arms, spreading your lats or twisting toward the camera changes the silhouette. Use your earlier image as a reference and repeat a normal breath and natural stance before capturing the next set.
Your poses, sorted automatically
GainFrame classifies every photo by pose - Front, Back, Side, Flexed - builds per-pose timelines, and compares matching poses side by side with the composition delta. Free to start on iOS.
Download GainFrame Free